Step 1:Wrap the under layer (the green paper on my package). You do not need to wrap the entire package, you can wrap it just to the point where the top layer will overlap by approximately 1-1/2 inches or so (depends upon how big your paper punch is).
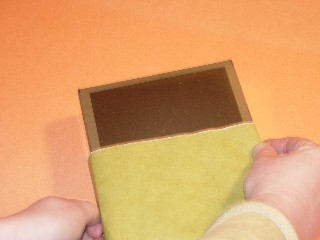
Step 2:Fit the top layer over the bottom layer,making sure that you have ample overlap for your paper punch design. DO NOT tape it into place, but make plenty of crisp edges so it will be easy to fit it into place later.
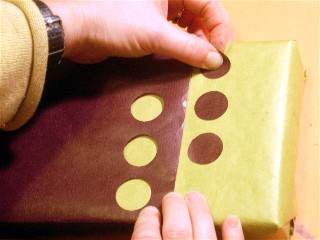
Step 3:Remove the top layer and punch your designs onto the edge of the paper that will be on the top of the package and will overlap the bottom layer.
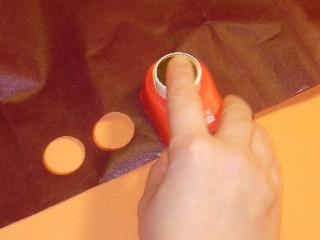
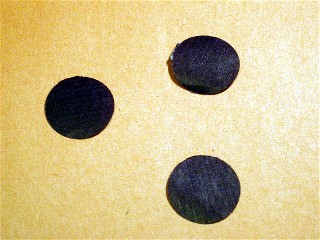
Save the designs that you punch out and set them aside for use a little later.
Step 4:Now fit the top layer into place. Secure with tape under the package and on the side.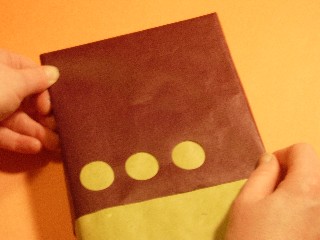
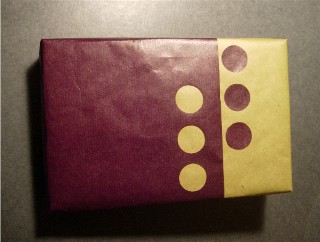
Step 5:Align the dots as you like and secure with a bit of glue.
Thursday, October 28, 2004
Dot to dot - the hole story
Monday, October 18, 2004
How To Wrap the Running Stitch Wrap

Step 1: Leaving enough overlap to make a fold to your liking, fit paper around object you're wrapping as you normally would, except overlap the two edges of the paper on the top surface of your package rather than the bottom of the package. Anchor the paper to the object with a piece of tape, but leave the rest of the taping until after all the threading is done.
Step 2: Take the end that overlaps and neatly fold over so that the back side of the paper is exposed. Fold all the way across so that the fold will continue down the sides of the package. Package in this picture has about a half-inch fold.
Step 3: Using hole punch make holes. Can be evenly spaced or some other pattern.
The package is now ready to thread. Remember, don't tape the edges down yet but make sure you have clean sides, you can neatly trim them if you need to.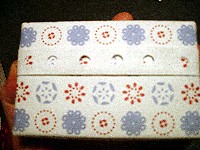
Step 4: Cut a length of ribbon that will fit around package with room to tie a bow.
Step 5: Center ribbon under package and use ends to thread through both ends of the package. I like to make sure the ribbon goes from the outside to the inside of the first holes on the sides.

Here's what the back and sides look like:

Step 6: Tie a bow where ribbon ends meet in the middle of the package. Trim ribbon as necessary. Add tape to anchor the sides. And it's done!
Friday, October 01, 2004
Such a pleaty thing

Pleaty - with three flowers vertically aligned.

Pleaty - with three flowers horizontally aligned and a spot of glue showing because I flip-flopped on the issue of flower placement.